Having a proper order in which to do things can often help you avoid doing more work than you really need to, and the end of tenancy cleaning is no different. Follow these steps and you should be able to get the job done easily!
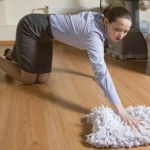
1. Protect the floors
Laying dust sheets down before you start cleaning will ensure that you are at less risk of having to clean for hours and hours. The dust from sanding and the splatters of paint when touching up the walls will cause mess that you can avoid. The moving team can also mess up the floors when walking in and out.
2. DIY tips
DIY has advantages and can save time if done properly. For example, when drilling holes in the wall, try putting the vacuum cleaner nozzle next to the drill while you drill to vacuum and reduce the amount of dust that goes on the floor. You can do the same when sanding small wall areas.
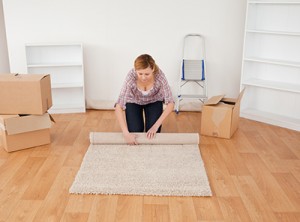
3. Moving tips
The moving process can be messy especially in bad weather! In addition to the dust sheets that protect the floor, try getting all of the boxes and furniture near to the entry door, so that the moving crew is not walking with dirty shoes in the house.
4. Tidy up before you start cleaning
When done with the DIY and moving steps, collect all of the scrap paper, flakes of paint and other debris in a garbage bag before you start the cleaning. After getting rid of the larger bits and pieces you are at less risk of clogging the vacuum cleaner and ready to proceed to the next step.
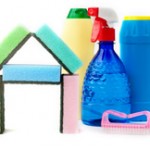
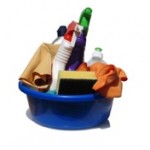
5. Cleaning tips
You will find that cleaning should be pretty easy if you have followed the steps above. Also cleaning an empty house takes less time, as you do not have to move and clean any furniture or contents. Don’t forget to clean all areas, like the oven and inside the cupboards!
Source: Islington Removal Van